
Ok here's the deal. I have completly had it with reproduction headlight switches. Be it C-2 or C-3 or First Gen Camaro I find that I go through 3-4 new switches untill I give up and rebuild the old one. Some of the problems are incorrect terminal slide locations, poor workmanship in assembly or headlight pull rods that won't catch no matter what trick I do. So I have resorted to rebuilding the old switches if and when possible.
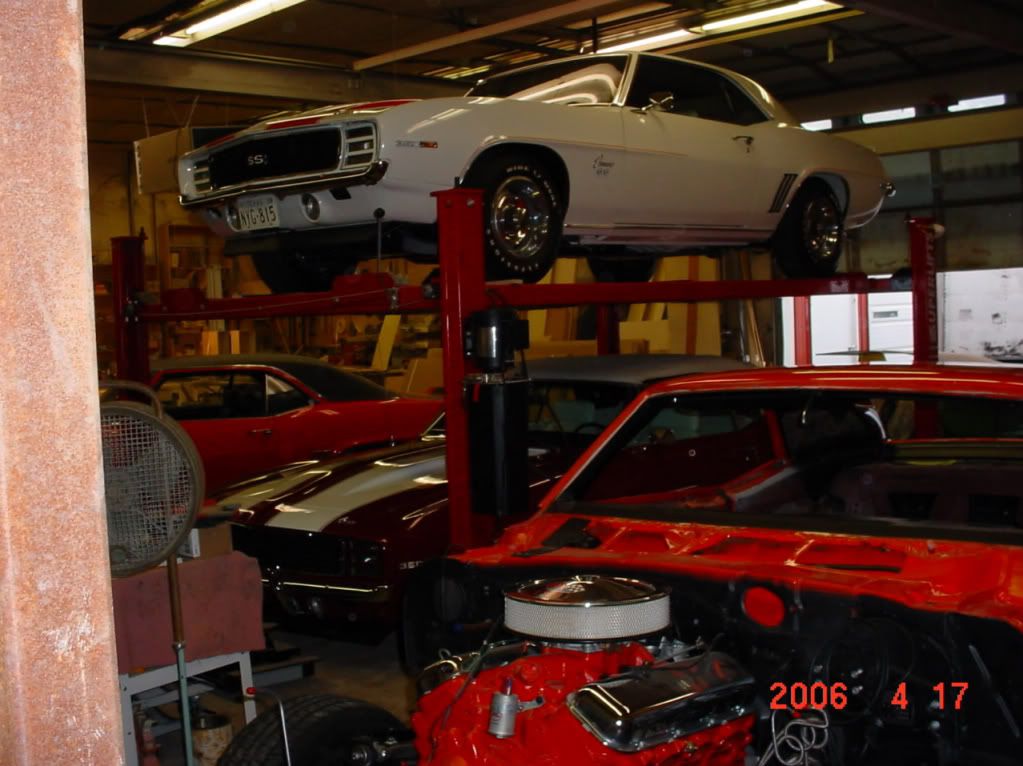
One thing I have not tried until today was to rebuild the vacuum side of the headdlight switch. I am assembeling a 69 Camaro pace car and had electical trouble with the repro headlight switch so I cleaned and installed an original switch. That took care of my electrical gremlins but as I was setting up the rally sport headlight system (which runs on the same principals as the corvette headlight system) I found the vacuum side of the original switch to be defective. I was able to rebuild it with the new parts from the repro switch.........so if you guys don't mind I'll post a very easy step by step process of the rebuild. This way some of you may be able to save your original switches.
Rich


Comment